Acumatica’s modern user interface (UI) is designed to improve the efficiency of everyone who touches the Acumatica system. While the enhanced UI is intuitive, there are still some changes that the user-administratorshould be aware of in order to ensure that processes aren’t interrupted.

That’s why we’ve put together a step-by-step guide to setting up a default parameter in a menu tile in Acumatica 2019 R1:
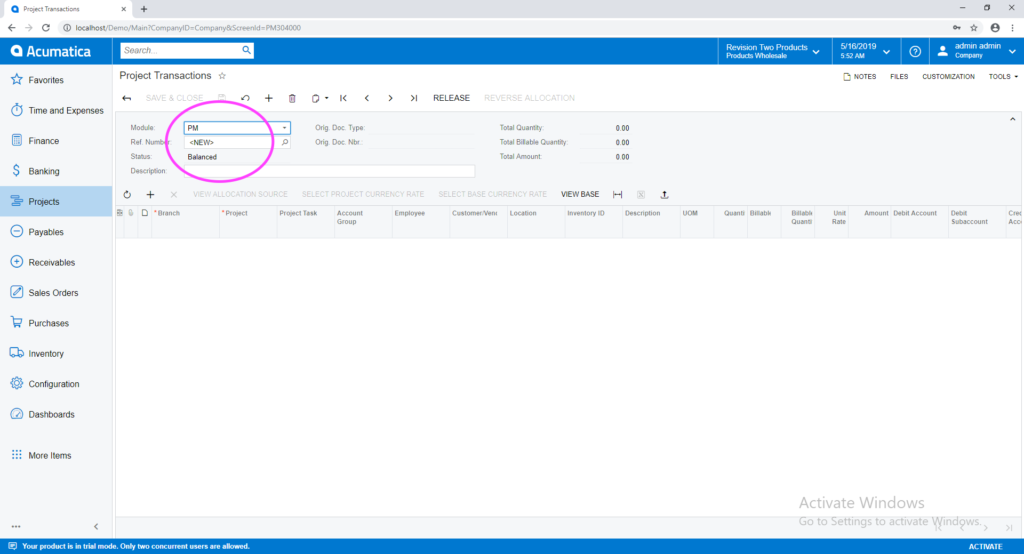
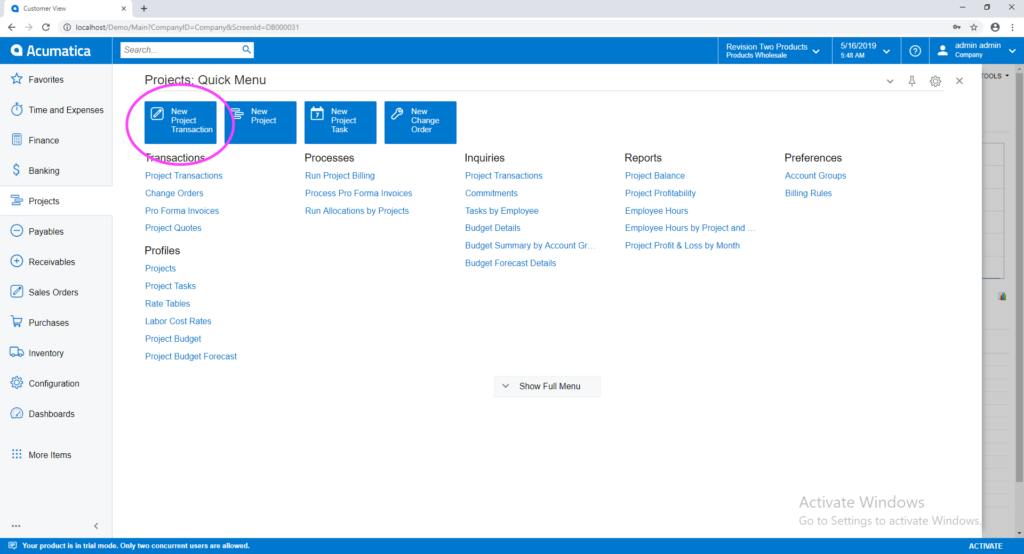
Step 1: When you click on the “New Project Transaction” tile in the modern UI, it no longer takes you to a new project transaction record. Instead, it will direct you to the most recently created project transaction record.
While the record that is displayed by clicking the “New Project Transaction” menu tile is the most recently created record, you actually would like it to display a new record.

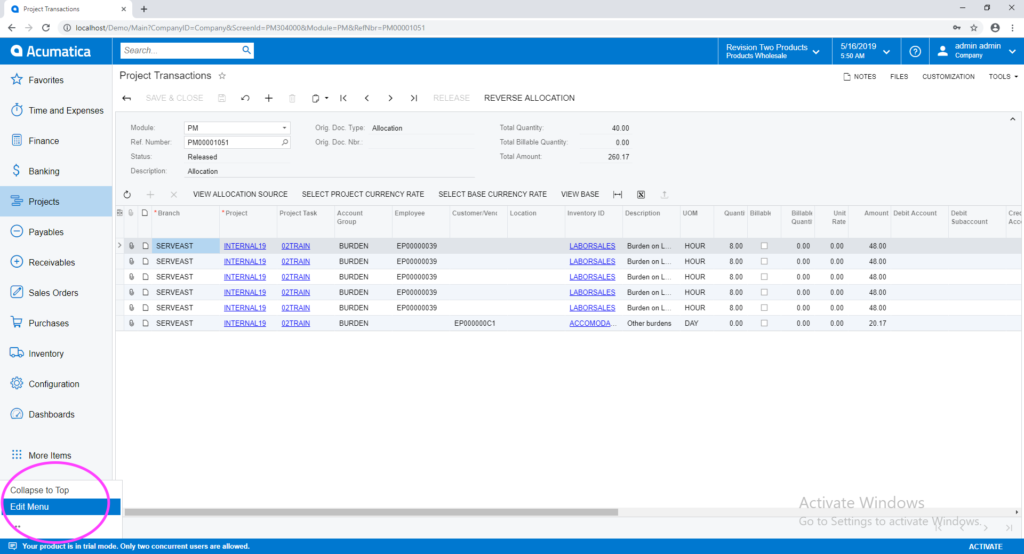
Step 2: Go to “Edit Menu”
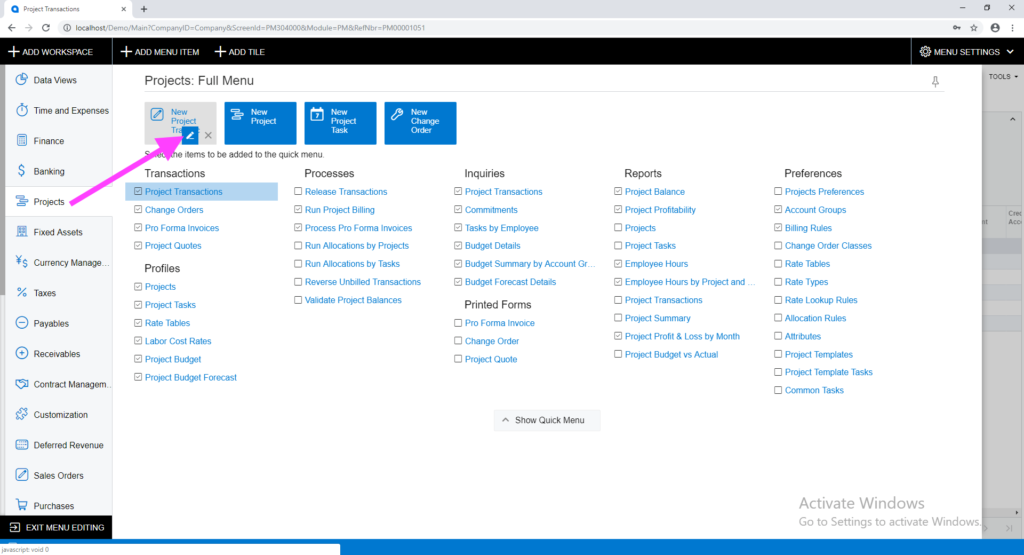
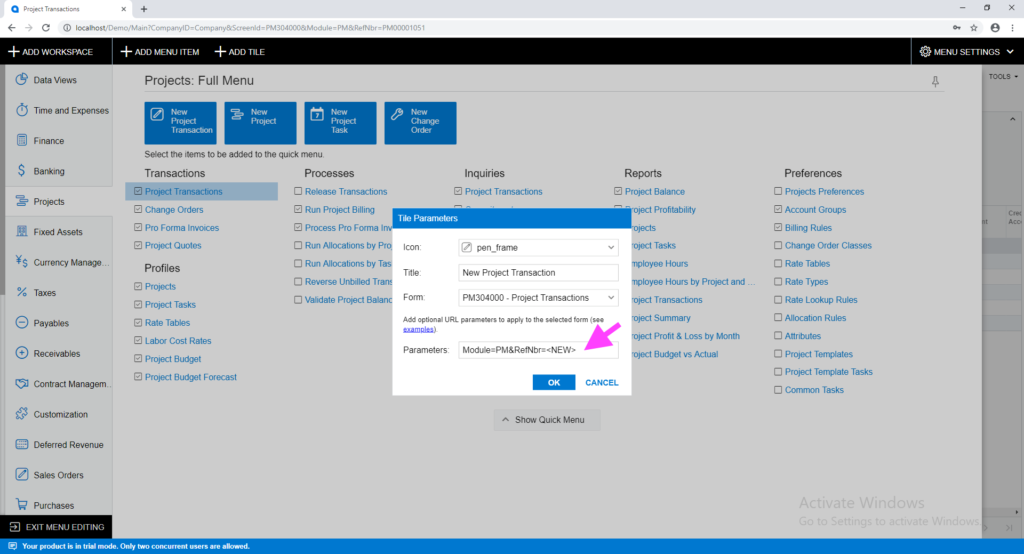
Step 3: Click on the “Project” workspace and then the Edit icon (pencil) on the menu tile.
Step 4: Enter the “Parameters” as displayed below and click OK.
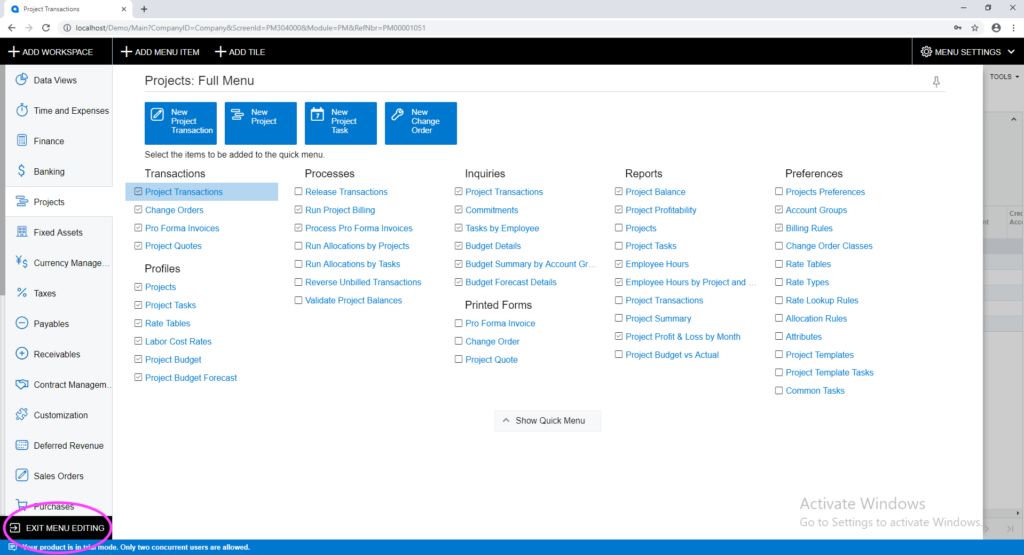
Step 5: Click “Exit Menu Editing”.
Step 6: Now click on the “New Project Transaction” menu tile and a new record will appear instead of the last record.